TROPICAL-TRIBE
Stargazing is often presented as an all-or-nothing experience: travel far from town, bring specialized equipment, and wait for an extraordinary sky. A first evening can be much simpler. From a suitable permitted place, you can notice the changing darkness, learn one recognizable pattern, or watch the moon without needing to turn the outing into an expedition.
Near the coast, the practical setting deserves as much attention as the sky. Night access, water, uneven ground, lighting restrictions, and wildlife can all shape where observation is appropriate. The most useful plan begins with a comfortable, lawful place to remain still, then chooses an observing goal that fits the actual evening.
Pick an experience, not a promise
Decide whether you want a quiet naked-eye session, a guided astronomy program, or a chance to look through equipment supplied by an organization. These experiences ask different things of the visitor. A guided event can provide interpretation and an established viewing arrangement, while an independent session requires more planning of access and surroundings.
Do not begin by promising companions a dramatic view of the Milky Way, a meteor shower, or a particular planet. Visibility depends on date, location, weather, sky brightness, and the object itself. Check current information from a reliable astronomy source when choosing a specific target, and keep expectations conditional.
For a first outing, one achievable interest is enough. You might learn to orient a sky chart, compare the apparent brightness of a few visible objects, or observe the moon from a suitable location. A focused experience can be satisfying even when the sky is not especially dark.
Find a place that welcomes night visitors
Check the land manager's current hours and rules. A park that is open by day may close before your planned session, and a public beach may have nighttime restrictions. Do not assume that a dark location is available merely because nobody appears to be using it.
Look for an established viewing area or an organized program with clear arrival instructions. A suitable inland location near the coast may be better than the beach itself. The sea does not need to be at your feet for the evening to feel connected to the destination.
Avoid isolated unofficial access, tidal routes, cliff edges, and unfamiliar rocky shorelines. The purpose is to observe the sky, so choose a place where the ground and access do not demand constant negotiation. A straightforward setting gives attention room to move upward without neglecting what is around you.
Visit the location in daylight
If planning an independent session, inspect the site in daylight where possible. Identify the entrance, permitted parking, route to the viewing area, surface, barriers, facilities, and return. Notice hazards and boundaries that may be harder to recognize after dark.
Choose the exact place where you will sit or stand, within the site's rules. Confirm that it does not block a path or conflict with other users. Do not rely on wandering until a dark patch appears. A known arrangement reduces unnecessary movement once visibility decreases.
If you cannot inspect the site beforehand, an organized event or a familiar managed setting may be a better choice. The absence of daylight reconnaissance should not become an excuse to improvise along an unfamiliar coast. There are many ways to enjoy the sky without adding uncertain access.
Let the moon influence the goal
Moonlight changes the appearance of the night sky. Rather than treating it only as an obstacle to seeing faint stars, decide whether the moon itself can be the subject. Its visible shape and position vary with date and location, so consult a current reliable chart or program description before planning around it.
A brighter evening may suit a short introductory observation from a convenient place, while a darker-sky goal may require a different date and setting. The useful choice is not always the darkest possible location. It is the combination of access, comfort, and an observing target that the group can realistically enjoy.
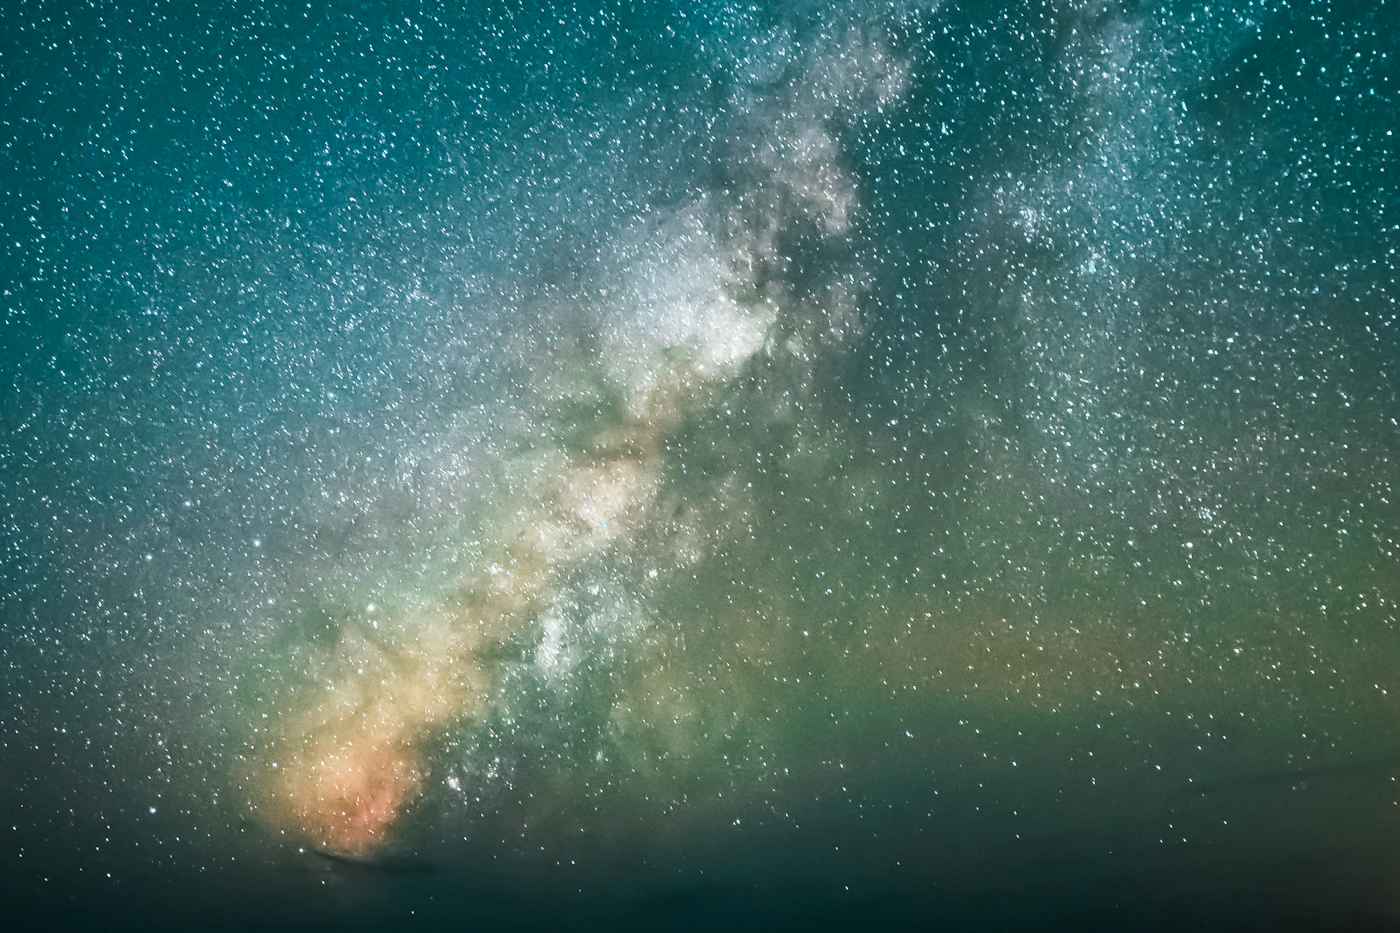
Avoid comparing the naked-eye view with long-exposure photographs. Cameras can record scenes differently from ordinary vision, and an image online may not represent what a visitor will see. Let the actual sky become interesting on its own terms instead of measuring it against a processed picture.
Check clouds and the whole evening's weather
Review the official forecast for arrival, observation, and the return journey. Cloud cover affects what is visible, while wind, rain, and other conditions affect whether the outing is appropriate. Follow current alerts and local instructions rather than treating a clear patch overhead as a complete assessment.
Build an easy cancellation decision into the plan. If conditions make the chosen site unsuitable, use an indoor alternative or stay in. A night-sky outing should not depend on remaining exposed while waiting for weather to improve. The time invested in planning does not create a reason to ignore changing conditions.
Keep the schedule modest. A shorter session with a comfortable return can be more enjoyable than a late night that leaves everyone tired or rushed. If driving is involved, account for the driver’s needs and do not let a desire for one more observation turn the journey home into an afterthought.
Start with equipment you understand
For naked-eye observation, elaborate gear is unnecessary. Bring the personal items and clothing appropriate to the location, suitable seating if permitted, and the lighting needed for safe movement within local rules. A simple printed sky chart or an appropriate app can support the session, but neither should dominate it.
Learn any app or chart controls before leaving. Trying to interpret an unfamiliar interface in the dark can become the entire activity. Check that the location, date, and time are set correctly, and treat identification suggestions as aids that still require careful orientation.
If using binoculars or a telescope, practice with the equipment in an appropriate setting first and follow the manufacturer's instructions. Never point optical equipment at the sun. For a first astronomy experience, a staffed public program may be a more comfortable way to try equipment than buying or transporting unfamiliar instruments.
Be considerate with light
The National Park Service recommends allowing time for eyes to adjust and using appropriate low-impact lighting for stargazing. Keep screens and lights from shining into other observers' faces. Ask the event organizer or site manager what lighting is appropriate before arriving, especially where local rules are specific.
Wildlife requirements take priority over general astronomy habits. On sensitive nesting beaches, even lighting chosen with good intentions may conflict with local guidance. NOAA advises keeping sea-turtle nesting beaches dark and avoiding disturbance. Choose another viewing location when your access or lighting needs cannot be reconciled with the site's protections.
Do not improvise light effects, illuminate habitat for photographs, or assume that a particular bulb color permits unrestricted use. The goal is to see the sky while leaving the surrounding place as undisturbed as possible. A suitable managed location makes that balance easier.
Learn one pattern slowly
Begin by orienting yourself with a reliable chart or a guide's help. Select one visible pattern or object appropriate to the date and location. Give yourself time to compare the chart with the actual sky instead of rapidly searching for a long list of names.
Describe what you notice before deciding what it is. Relative position, brightness, and apparent spacing can help you understand the view. If the identification remains uncertain, keep it uncertain. A guessed name is less useful than a careful observation that can be checked later.
Once you recognize something, look away and find it again. This simple repetition can make the knowledge more durable than reading several labels in succession. The aim is familiarity with a small part of the sky, not an examination in which every visible point needs an answer.
Leave space for different ways of noticing
One companion may enjoy names and diagrams, while another prefers the atmosphere or a conversation about scale. Both can belong in the same evening. Agree that learning is optional and that nobody needs to compete over what they can identify.
Choose a comfortable arrangement that allows people to look without straining or obstructing others. If using shared equipment at a public event, follow the organizer's instructions and give each person a turn. Ask before adjusting an instrument, and avoid touching controls that have been set for the group.
Keep cultural explanations accurate and appropriately attributed. Sky traditions differ, and a casual visitor should not combine fragments into a supposedly universal story. When a program includes Indigenous or other cultural knowledge, learn from the people and institutions authorized to share it rather than improvising an account.
Make a small observing note
Record the date, general location, approximate time, weather impression, and the feature you tried to observe. Add what was visible and what remained uncertain. A short note gives a future session something to build on without requiring a technical logbook.
Try sketching relative positions rather than producing a polished drawing. A few dots and a horizon reference can preserve what you noticed. Keep the sketch honest about scale and uncertainty; its purpose is memory and learning, not a claim of precise astronomical measurement.
For a hypothetical first session, the note might say that a guide helped identify one bright pattern, clouds moved across part of the view, and the group preferred a shorter session than expected. That record is useful because it combines observation with practical lessons for another evening.
Do not make the camera responsible for enjoyment
Night photography can require techniques and equipment beyond an ordinary first outing. Decide whether you want to learn photography or observe the sky, because the two can compete for attention. A camera that cannot record what you see does not make the observation less real.
If taking pictures, follow site restrictions and avoid bright flashes, intrusive lighting, or equipment placed in walking routes. Do not move toward water or an edge merely to improve the foreground. The appropriate position is determined by access and safety, not by the composition you imagined.
When sharing images, be clear about substantial processing or composite work. Do not present an edited scene as an exact representation of what every visitor can expect. A simple written account may communicate the atmosphere more honestly than an image pushed beyond what the evening actually offered.
Keep a cloudy-evening alternative
A local observatory, planetarium, museum program, or other established educational activity may offer a related experience, but check current availability before relying on it. Some programs depend on weather, while others include indoor interpretation. Read the description and cancellation arrangements carefully.
At accommodation, a short session with a reliable sky map can prepare for another evening without pretending to replace the outdoor experience. Choose one question, such as how the visible sky changes with location, and explore it through a reputable astronomy organization. Keep the activity bounded so that a canceled outing does not become an unwanted lecture.
The social part can continue as well. A quiet meal or conversation about what each person hoped to notice may be enough. Flexibility works best when the alternative has its own purpose rather than being framed as a lesser version of the original plan.
Leave before the return becomes difficult
Agree on an approximate ending and remain willing to finish earlier. Pack carefully, check the area for small items, and use permitted lighting appropriately for the return. Do not rush through an unfamiliar space simply because the observing session ran longer than expected.
Respect closing times and other site requirements. If a managed event concludes, follow the organizer's departure instructions rather than remaining behind without permission. The night sky continues, but the visitor arrangement may have a clear endpoint.
A satisfying first evening often ends with one recognizable thing and several new questions. That is enough. You have made a little room for a view that ordinary routines often overlook, while respecting the coast and the people who share it.
Keep the first plan easy to repeat. A convenient lawful viewpoint, a known route, and one observing question can become a small travel ritual. On a later visit, change only one element: try a different date, attend a guided event, or learn another visible pattern. This gradual approach lets experience guide the next choice. It also prevents the assumption that a more expensive instrument or a more remote location is the only way to deepen an interest that began with simply looking up.
Resources for planning
The National Park Service's Where to Stargaze guide offers an introduction to night-sky observation. On coastal sites, also consult local wildlife rules and NOAA's sea-turtle protection guidance. Confirm current event details and access with the responsible organization.