TROPICAL-TRIBE
The coast can overwhelm a phone camera with brightness, movement, and too many attractive subjects at once. A wide view may feel magnificent in person but become a flat strip of sand and sky on screen. The problem is rarely a lack of spectacular scenery. It is usually that the photograph has not yet chosen what it wants the viewer to notice.
Better coastal pictures often begin by doing less. Stop in an appropriate place, look without the phone for a moment, and identify the detail that holds your attention. Then make a picture around that detail. The result may be quieter than a postcard, but it is more likely to communicate something specific about your time by the sea.
Choose a story before choosing settings
A short photo walk becomes easier when it has a theme. You might photograph the meeting of vegetation and sand, a working waterfront from public areas, or the way afternoon light changes familiar surfaces. A theme does not restrict creativity; it reduces the need to chase every attractive scene you encounter.
Keep the theme concrete enough to guide decisions. Tropical beauty is too broad to help you choose between ten similar views. Green against pale sand, public paths to the sea, or a quiet morning before the beach fills are more useful prompts. They suggest what belongs in the set and what can be left out.
Imagine the finished collection as a handful of images rather than a gallery of everything you saw. A broad view can establish the place, a medium view can show an activity or arrangement, and a detail can reveal texture. This variety gives the collection rhythm without requiring elaborate equipment or a dramatic location.
Find a comfortable place to stop
Photography absorbs attention. Choose your position before composing, remain on permitted routes, and keep clear of traffic, edges, unstable surfaces, and other hazards. Do not walk backward while watching the screen or move beyond a barrier because the framing would be cleaner.
Check current local access and weather information for the outing. The best picture is not a reason to remain outside when official guidance calls for shelter or departure. A route with straightforward exits and comfortable stopping places is more useful for a relaxed photo walk than one requiring constant attention to difficult terrain.
At busy viewpoints, make room for others. Take a few considered pictures, then step aside to review them. Do not occupy an accessible passage or the only clear sightline while editing. Public scenery is shared, and thoughtful positioning improves both the photographs and the experience around them.
Let light describe the subject
Before raising the phone, notice where the light comes from and what it reveals. Side light can emphasize texture, while light from behind a subject may turn it into a silhouette. Bright overhead conditions can create strong contrasts that work well for simple shapes even when they are less flattering for portraits.
Do not assume that a particular time of day guarantees a good image. Clouds, orientation, buildings, and vegetation change the light available at a specific place. Work with what you can actually see. A softly lit detail in the shade may offer more than a wide scene overwhelmed by glare.
Try changing your angle within the safe, permitted area before changing settings. A small shift can separate overlapping shapes or move a reflection. This is not an invitation to seek a precarious position. If the picture requires an unsuitable approach, choose another subject or accept the composition available from where you are.
Give the eye a place to begin
A photograph benefits from a clear point of attention. It might be a curve in the shoreline, a single permitted beach structure, a patterned leaf, or a person who has agreed to be photographed. If every part of the frame competes equally, the image can feel busy even when the scene felt peaceful.
Look at the edges before taking the picture. A partial bin, a bright sign, or a cut-off object may pull attention away from the subject. Sometimes a slight change in framing solves the problem. Sometimes the extra detail belongs to the honest story of the place and should remain.
Use empty space deliberately. An area of sky, water, or sand can make a small subject easier to notice. Empty space does not have to be literally blank; it simply needs less visual competition. A calm composition can emerge from a busy location when you choose a clear relationship between subject and surroundings.
Make the horizon a decision
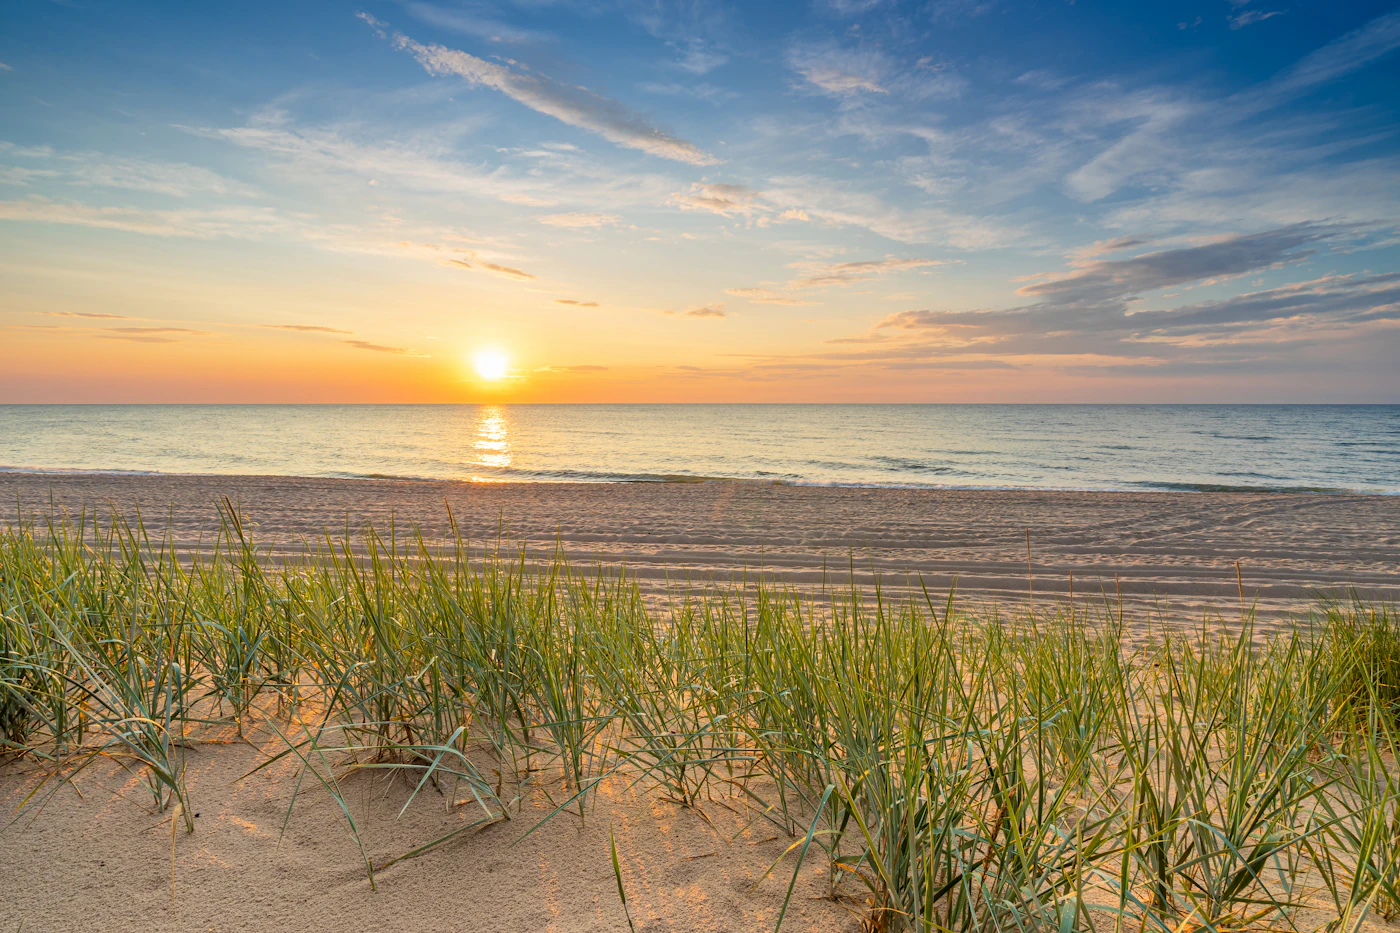
The horizon is often the strongest structural element in a coastal picture. Decide whether the image is mostly about the sky, the water, or the foreground. Placing the horizon mechanically in the middle can divide attention when one part of the scene deserves emphasis.
Check whether the horizon appears level unless an intentional angle serves the picture. Many phones offer an optional grid or level aid, though the controls differ by device. Learn the basic camera tools on your own phone before the outing so that adjustments do not consume the time you hoped to spend looking.
Do not use a grid as a formula that every picture must obey. It can help you notice alignment and balance, but the scene may call for a different arrangement. The useful question is whether the placement supports what you want the viewer to see, not whether it matches a familiar rule.
Photograph details that belong to the place
Small subjects can make a coastal collection more specific: the pattern of a permitted public walkway, sunlight through a leaf, or sand caught in the texture of a beach bag. Choose details you can photograph without touching wildlife, collecting natural objects, or entering protected vegetation.
Avoid rearranging the environment to make it look more natural. Moving shells, breaking leaves, or shifting objects in a sensitive habitat changes the subject you came to observe. If a detail is inaccessible from an appropriate position, leave it as part of the experience rather than turning it into a photograph.
Use details to complement wider images. A collection consisting only of close textures may lose its sense of location, while a collection of distant vistas can become repetitive. Alternating scale lets viewers understand both the setting and the particular things that caught your attention there.
Give people agency in the picture
Ask companions whether they want to be photographed and how they feel about sharing the images. Agreement to a vacation portrait is not automatically agreement to public posting. A relaxed conversation before the camera comes out can make the picture more comfortable and the later use less awkward.
Choose a setting where the person can stand or sit comfortably without posing in a hazardous place. Let their posture remain natural. A portrait beside the coast does not need a dramatic edge, an exaggerated gesture, or a carefully staged imitation of a travel advertisement.
Respect strangers and local residents. Avoid making an identifiable person the main subject without appropriate permission, particularly in situations where privacy or dignity may be affected. Public access to a place does not make every person within it a prop for a visitor's visual story.
Work with ordinary weather
A cloudy day can produce a different kind of coastal image rather than an inferior one. Softer light may reveal color and texture without harsh contrast. Reflections on a permitted paved route or the meeting of gray sky and green vegetation can support a quieter visual theme.
Rain and wind also create practical limits. Protect equipment according to its manufacturer's guidance and do not assume a device's water-resistance label covers every exposure. Salt, sand, and moisture can complicate handling. When conditions are unsuitable, put the phone away and move to an appropriate place.
Plan an indoor alternative with a related subject, such as a public exhibition, a cafe interior where photography is permitted, or a view through a window from a lawful position. The story can become about a coastal day changing shape rather than about failing to obtain the weather you wanted.
Take fewer versions with clearer differences
Instead of making many nearly identical pictures, change one meaningful element at a time. Try a wider frame, a closer frame from the same suitable position, and a different orientation. Compare what each version communicates. This teaches more than repeatedly pressing the shutter while hoping one image feels better.
Pause after a small group of pictures. Look again at the real scene before reviewing the screen. You may discover that the feature you found interesting is not the feature you photographed. That realization is useful; it helps align attention and composition.
Do not let review become the whole walk. Mark a promising image if your device supports it, then continue observing. Detailed editing can wait until you are seated somewhere comfortable. The phone is a way to record the outing, not a reason to experience the entire coast through a rectangle.
Edit for clarity rather than transformation
Begin by selecting, not adjusting. Remove duplicates and keep images that contribute something different to the story. A small coherent collection usually communicates more than a long sequence of similar views. Ask what each picture adds that the others do not.
Make modest adjustments that help the image resemble what you intended to record. Cropping, straightening, and restrained changes to brightness or color can clarify a picture. Avoid processing that turns water, foliage, or skin into implausible colors while presenting the image as a straightforward record.
If an image is substantially altered, do not use it to imply conditions or features that were not present. Honest travel photography matters because viewers may use pictures to form expectations about a place. A pleasing image and an accurate representation should support each other rather than compete.
Write captions that add information
A caption can explain what interested you, what the image shows, and any relevant uncertainty. It need not repeat that the beach was beautiful. A specific observation about light, texture, or the public setting gives the viewer something they cannot infer from a generic enthusiasm-filled sentence.
Do not identify a species, location, or cultural detail more precisely than your knowledge supports. Check reliable information where needed, and leave uncertain details broad. Likewise, avoid suggesting that a pictured coast is empty or secluded if the framing simply excludes nearby visitors.
Be careful with sensitive locations. A precise tag can draw attention to nesting areas or places with limited capacity. Follow the managing authority's guidance and consider whether a broader location description serves the story without encouraging inappropriate access.
Make a sequence from one ordinary outing
Imagine a hypothetical afternoon at a public waterfront. The first picture shows the route beside the water. The second records the pattern of shade on a bench. A third includes a willing companion looking toward the coast, and a final detail shows the notebook used during the walk. Together they describe an experience rather than simply proving that a destination was visited.
The sequence works because the images vary in scale while sharing a setting and mood. None needs to be spectacular alone. Their relationship gives them meaning. This approach is especially useful when weather or crowds make a conventional postcard view unavailable.
After assembling the set, remove one image and see whether anything important is lost. If the story remains complete, the smaller version may be stronger. Editing is an act of attention too: it decides what deserves the viewer's time.
Keep a practical photo-walk note
Before leaving, note the permitted route, current conditions source, and any photography restrictions at planned stops. Check battery charge and available storage, and bring only accessories you know how to use. If photographing a group, agree on a few brief stops rather than making everybody wait unpredictably throughout the walk.
Afterward, record one thing that improved your pictures and one thing you would change. Perhaps a simpler background helped, or perhaps too much time disappeared into settings. These observations are more useful than judging the outing by the number of likes an image receives. Your aim is a clearer way of noticing and sharing a place.
Print or save a small selection somewhere you will see it again. A personal album can preserve the ordinary details that disappear in a crowded camera roll. The useful measure is whether the pictures bring back the character of the outing and the things you noticed, not whether they make the coast look more extraordinary than it was.
A place for responsible observation
The U.S. Fish and Wildlife Service's wildlife-viewing guidance is relevant whenever animals enter the frame. Follow current local access rules and protect the subject's space; no camera setting compensates for an intrusive approach.